




How to Clone Delphi 7.1 ECU with Xhorse Multi-Prog?
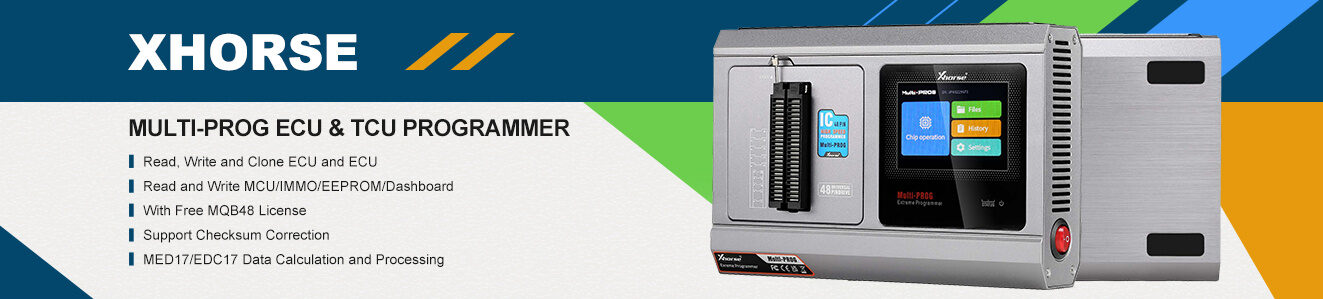
Cloning a Delphi 7.1 ECU requires transferring the original unit’s EEPROM and Flash data to a replacement ECU. Using the Xhorse Multi-Prog programmer, technicians can access the ECU data in boot mode, read the required memory contents, and write them to the donor unit for accurate data transfer and reliable cloning.
Example: Mahindra XUV300 BS6 Delphi 7.1 ECU cloning was successfully completed with Xhorse Multi-Prog, with the cloned ECU successfully installed and verified on the vehicle.
Step by Step:
Step 1: Hardware Connection
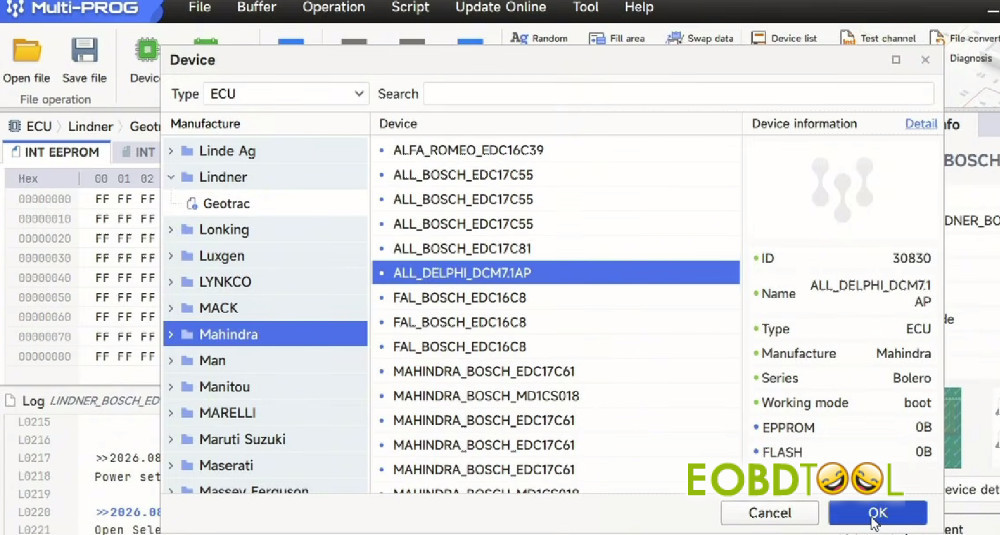
Navigate to Device-> Mahindra-> ALL_DELPHI_DCM7.1AP-> OK
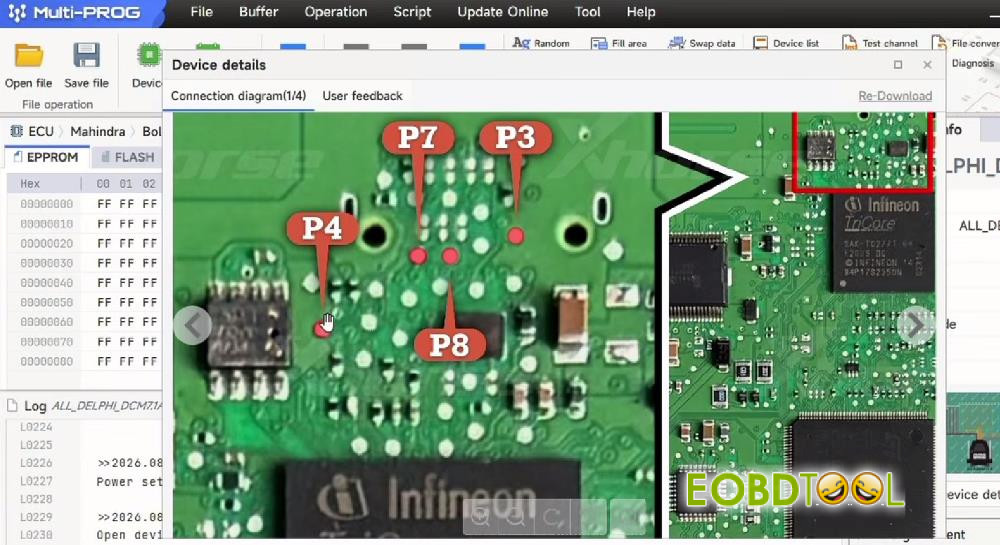
Wire the original Mahindra XUV 300 BS6 Delphi 7.1 ECU according to Multi Prog wiring diagram in boot mode.
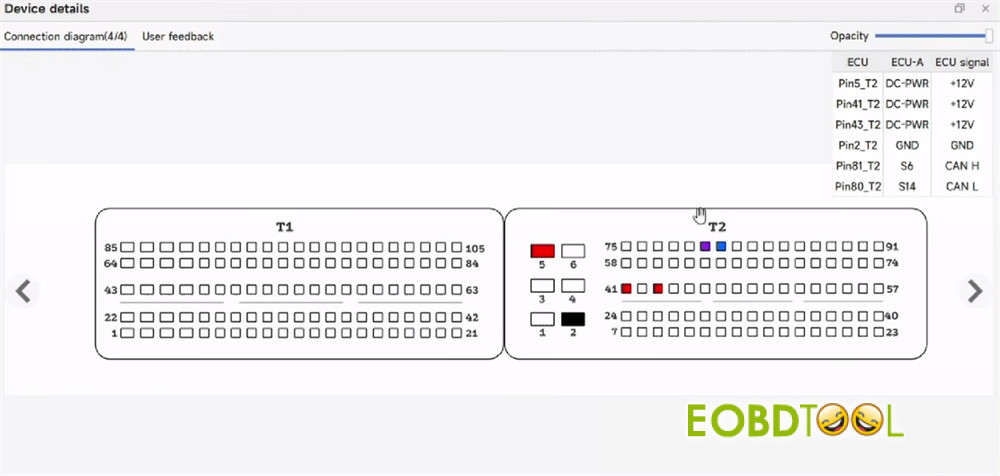
Select Connect ECU in the software.
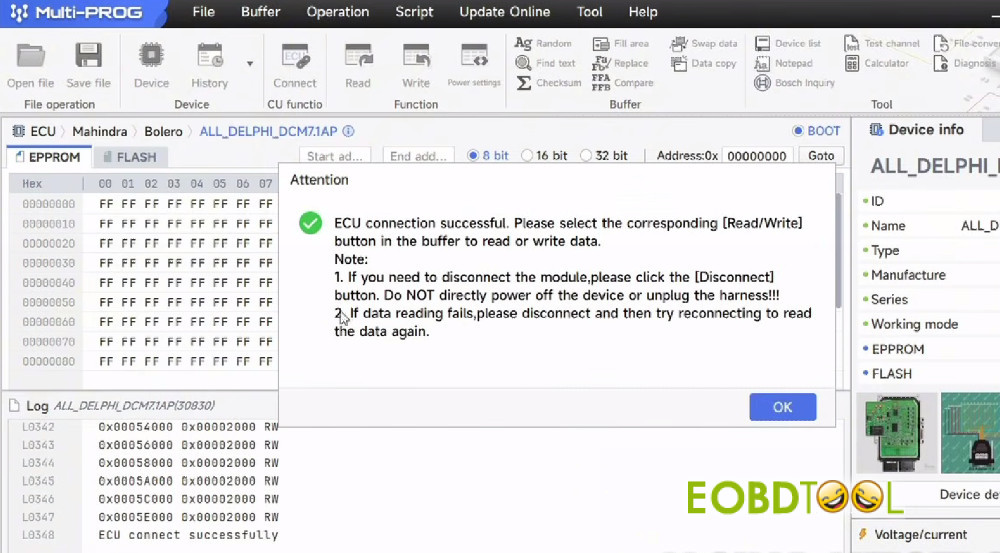
Step 2: Reading Original Data
Select the EEPROM tab, click Read, and save the file to your computer.
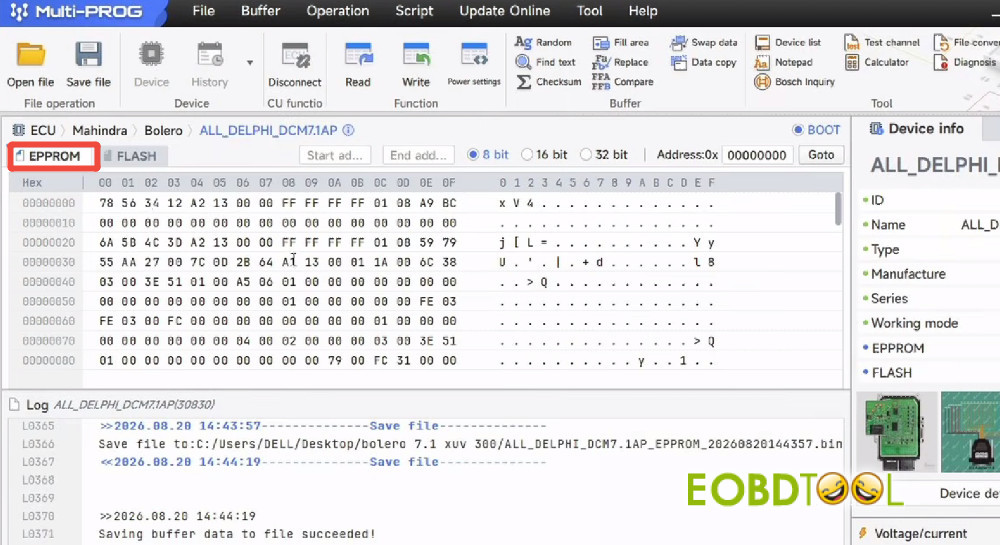
Next, select the FLASH tab and click Read (takes 1–2 minutes).
Save the original Flash file.
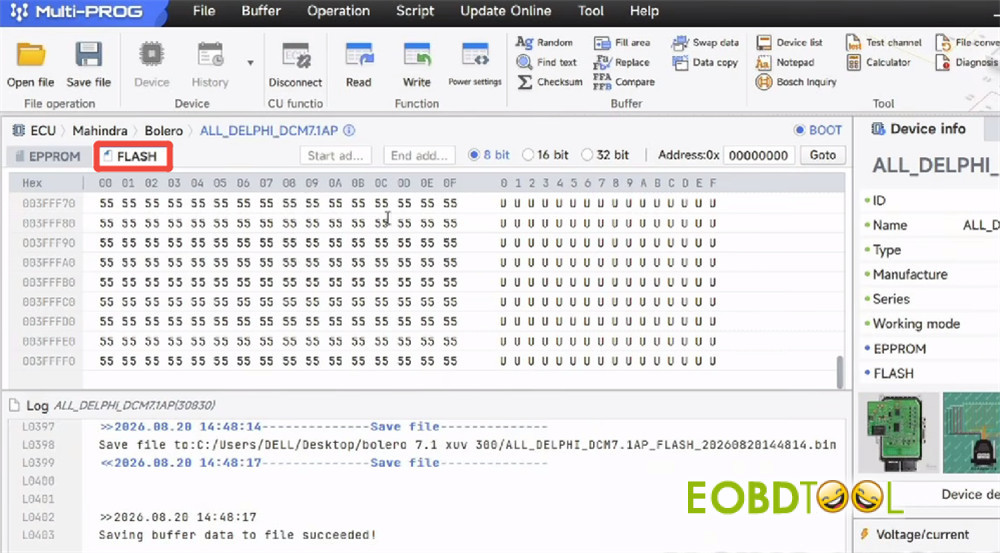
Click Disconnect.
Step 3: Writing Replacement Data
Connect the target (replacement) ECU to Multi–Prog.
Open the saved EEPROM file under the EEPROM tab and click Write.
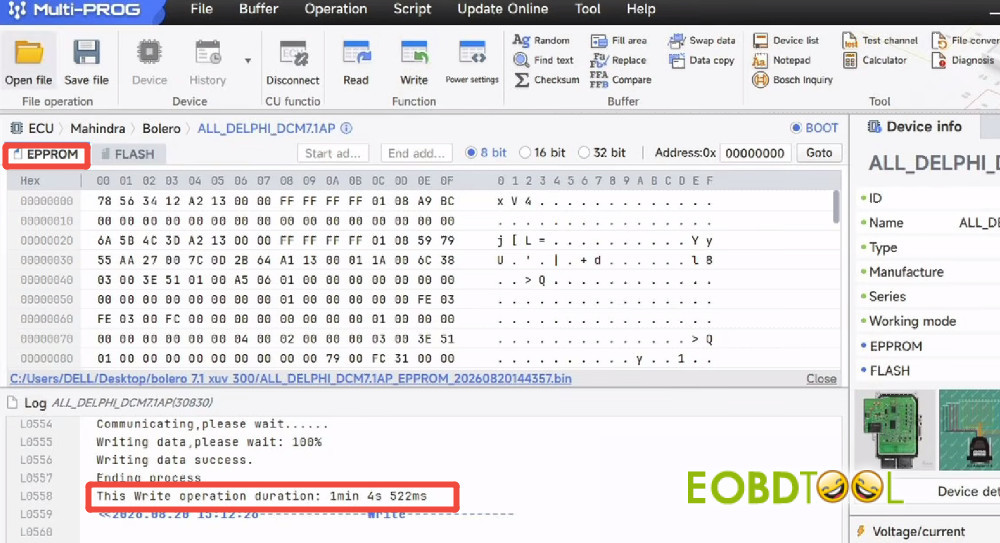
Next, select the Flash tab, open the saved Flash file, and click Write.
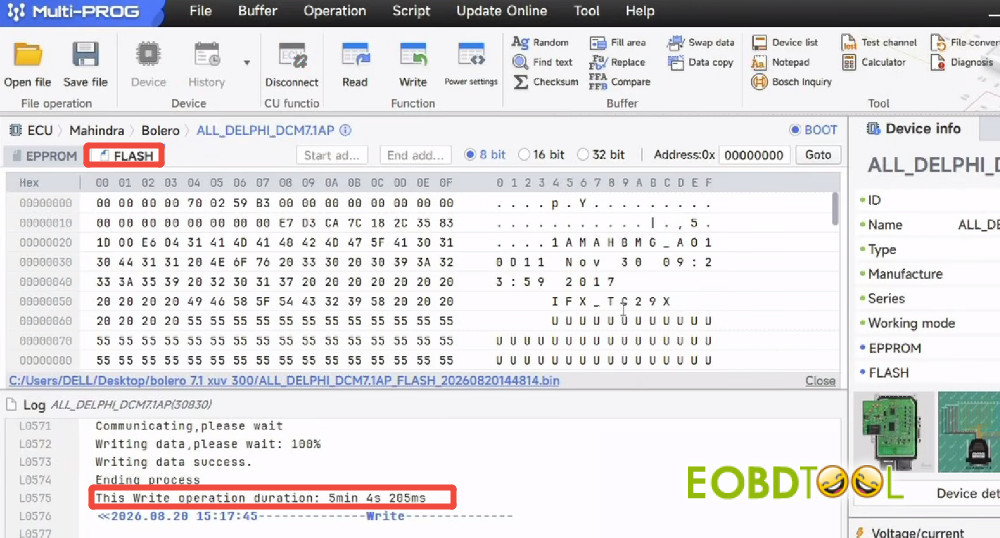
Step 4: Data Verification
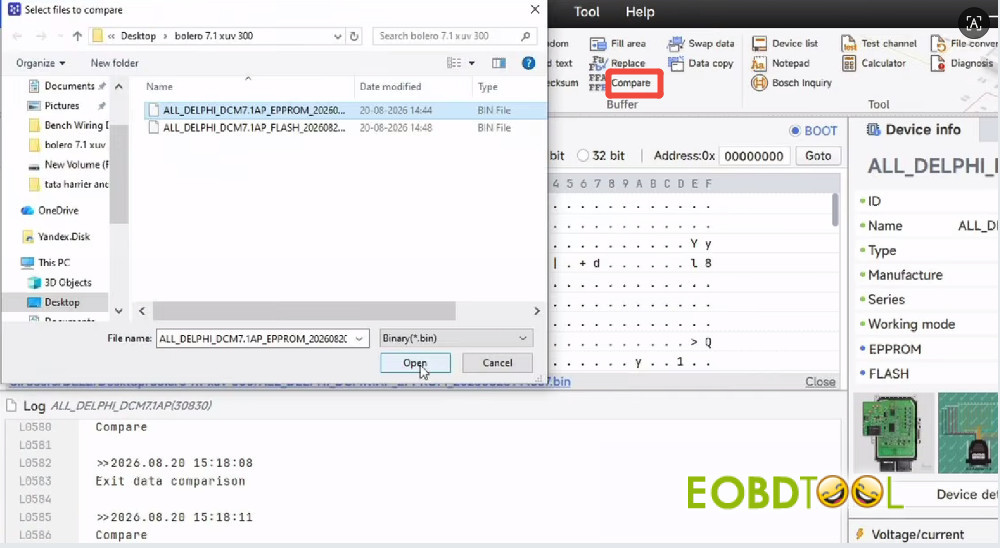
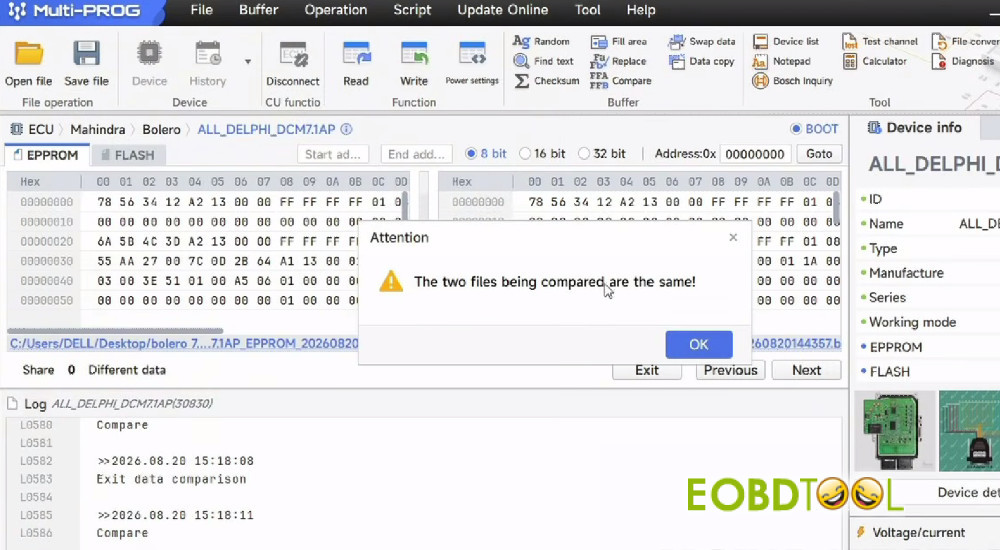
After writing, use the Compare tool in Xhorse Multi Prog for both EEPROM and Flash tabs.
Load the original saved files to confirm the data on the replacement ECU matches 100%.
Step 5: Final Assembly
Disconnect the ECU from Xhorse Multi-Prog, install it in the vehicle, and start the engine to complete testing.
UK Professional OBD2 Tools Online Shop