
Autotuner Unlock 2020.06- BMW MD1 MG1 ECUs Tutorial
Autotuner first introduced support for BMW DME8 ECUs in 2019. However, a software update released by Bosch and BMW in 2020 reintroduced security restrictions, preventing technicians from accessing these ECUs for reading and writing operations in the field.
Access is now back, and you can get started with just an Autotuner tool.
Today, any workshop worldwide equipped with an AutoTuner Tool can carry out supported BMW DME8 unlocks in-house, giving technicians greater control over the process and reducing reliance on external services.
For experienced tuners, unlocking is a fast and hassle-free process. Even better, AutoTuner lets you unlock the ECU at no extra cost.
With the AutoTuner Tool, you can unlock as many supported ECUs as needed, with no subscription fees, no per-unlock charges, and no extra costs from AutoTuner.
Supported Vehicle Coverage (Bosch MD1CP002 / MD1CS001 / MG1CS003):
BMW (Petrol & Diesel):
- 1 Series to 8 Series & Z4: From 116d to M40i / 50i models
- X Series (X1–X7): From 18d to M50d / M40i / 50i variants
- MINI: Clubman, Cooper, and Countryman (16d, 18d, 2.0 SD, 20d)
- Alpina: D3 S, D5 S, XD3, and XD4 (3.0d / 40d engines)
Two ECU Flashing Methods
ECU flashing can be performed in two ways:
- Bench Flashing – Connect the ECU directly to the flashing tool using a bench harness.
- OBD Flashing – Apply the required OBD patch, then read and write the ECU through the vehicle’s OBD port using the Autotuner tool or other compatible handheld programmers.
Both methods can be completed with the equipment supplied with the Autotuner kit, including the main tool, power supply, USB cable, and universal ECU connection harness.
Step-by-Step Guide
1. Connect the Autotuner Tool to Your PC: Connect the Autotuner device to your computer.
2. Open the Software and Select the ECU Protocol: Launch the Autotuner software and navigate to “ECU Operations” → “Vehicle.” Scroll down to the BMW section. In this example, the vehicle is identified as a BMW M3 (G80 series). Select “MG1CS049” from the available ECU options.
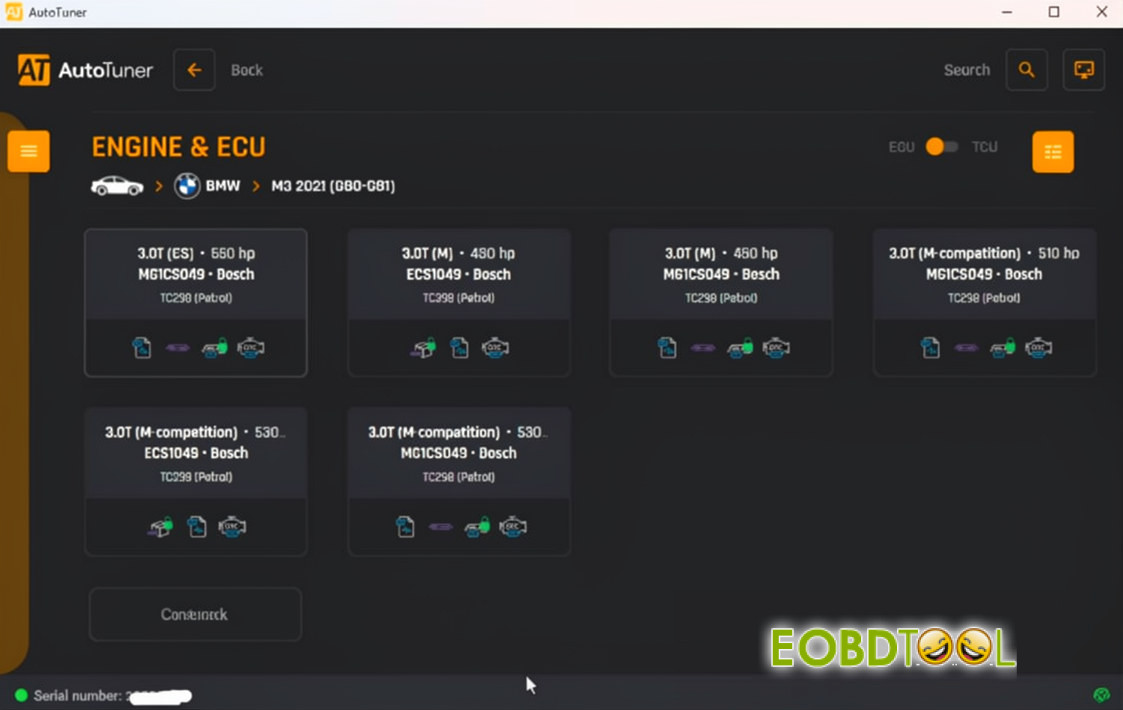
3. Select Bench Mode. Once you have selected the ECU, choose the “Bench” option to proceed.
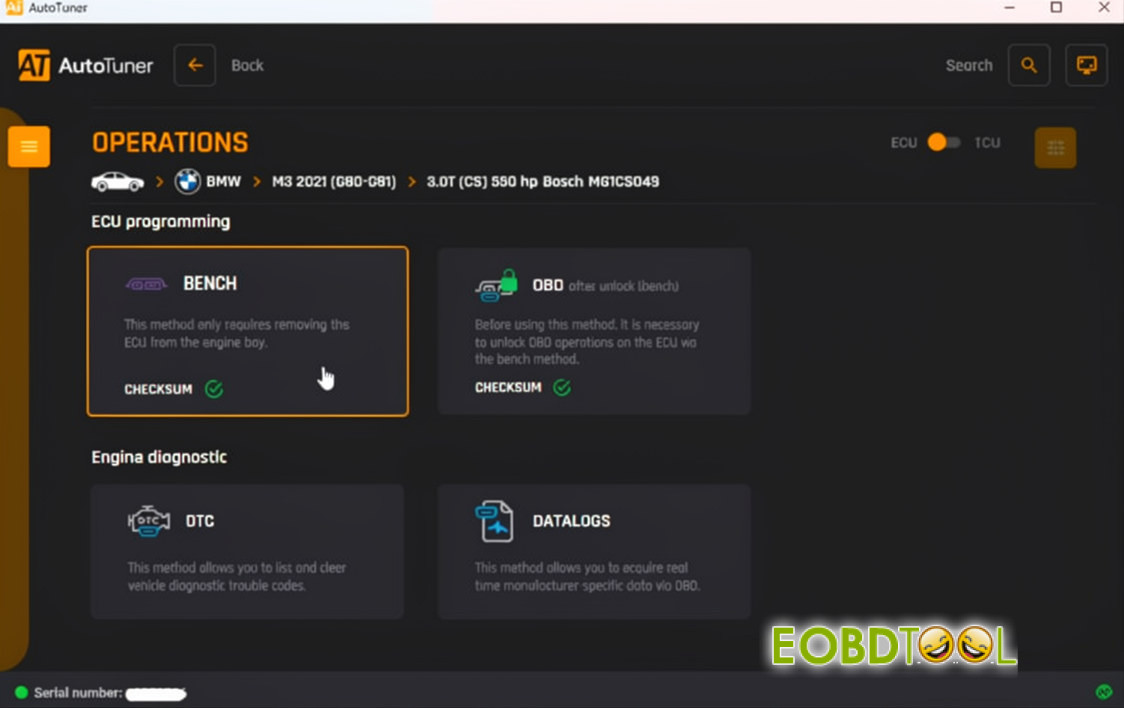
4. Check the instructions for a detailed overview of the procedure. They explain the difficulty level, show the ECU’s location in the vehicle, identify the required accessories, and guide you through the ECU connection process.
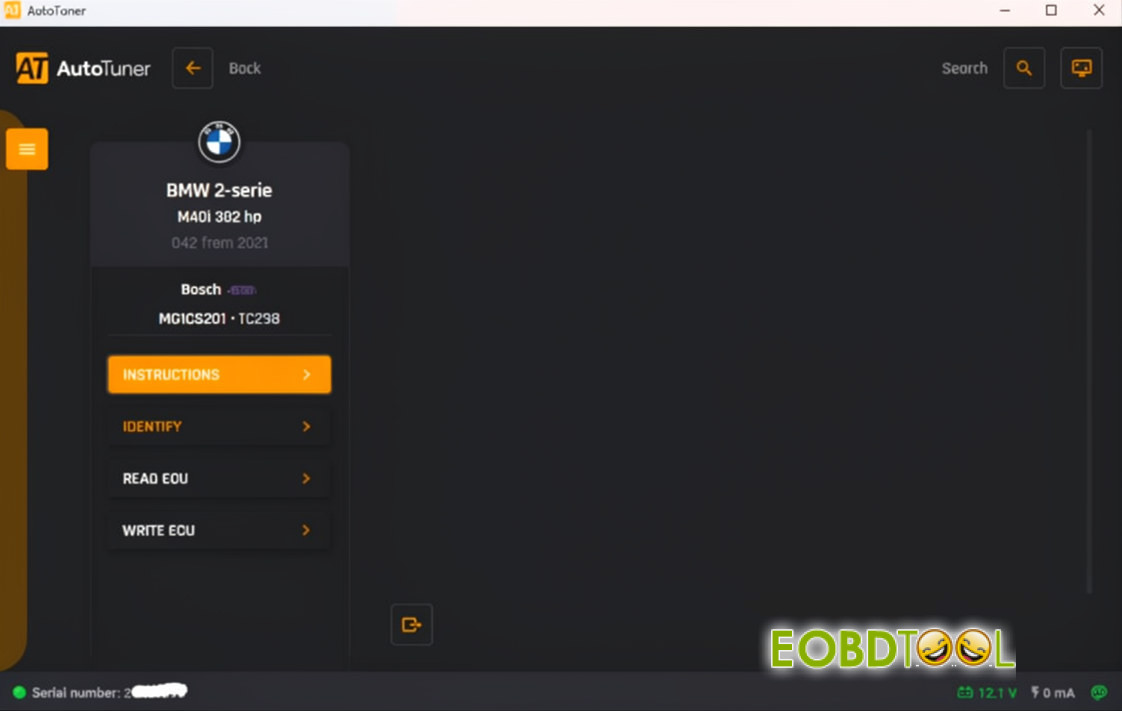
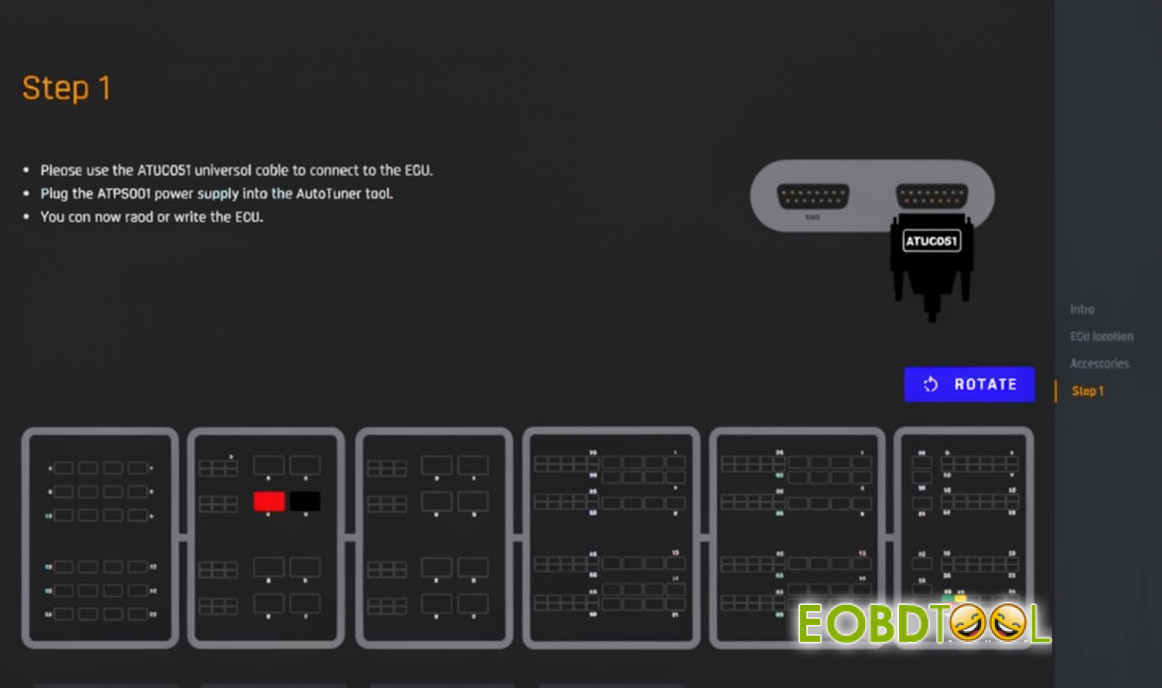
5. Connect the ECU pins. Although the pinout process is relatively straightforward, Autotuner also offers a plug-and-play harness for technicians who want to save time and simplify the setup. Just connect the harness, and you’re ready to go.
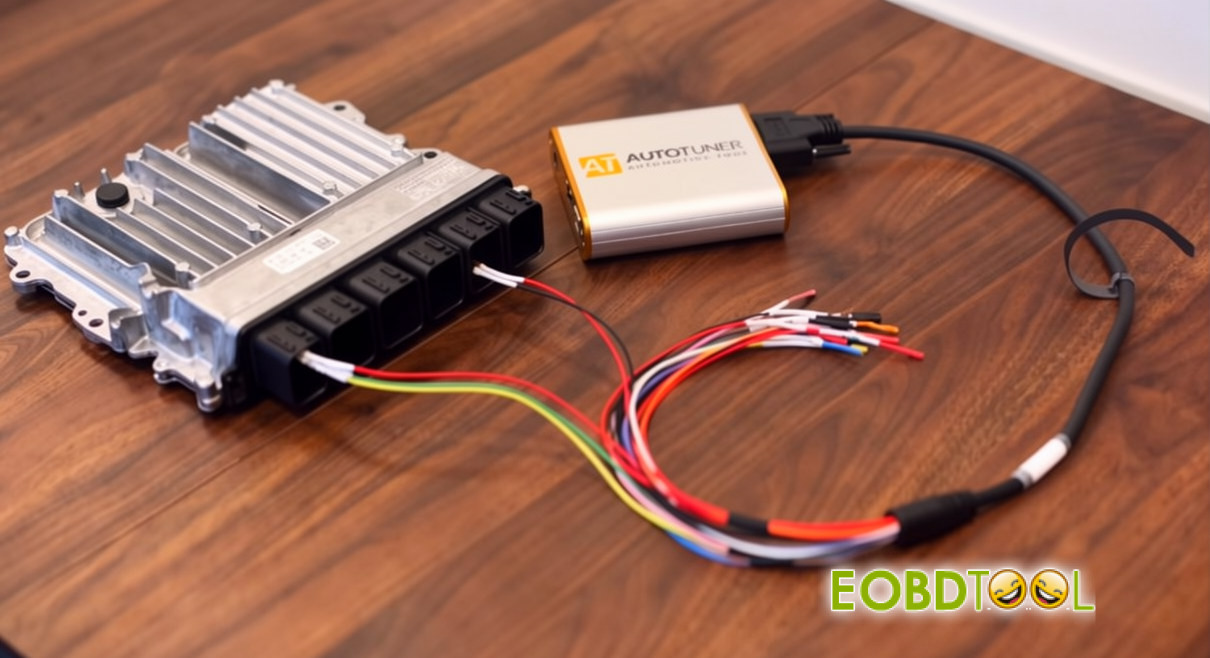
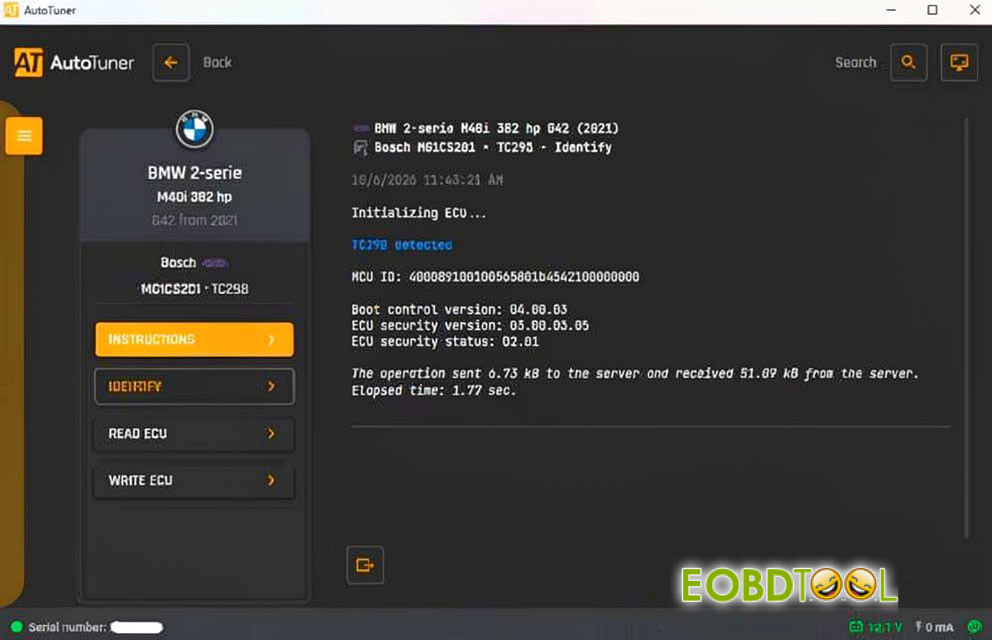
6. Identify the ECU. After establishing the connection, proceed with ECU identification. The system now successfully recognizes all ECU information.
7. Back Up the ECU: Usually, you should create an ECU backup before making any changes. However, since this procedure uses an OBD unlock patch, Autotuner automatically backs up the ECU before applying the patch.
8. Write the ECU: Navigate to the “Write ECU” option, select “OBD Unlock Patch,” and let the Autotuner tool complete the process.
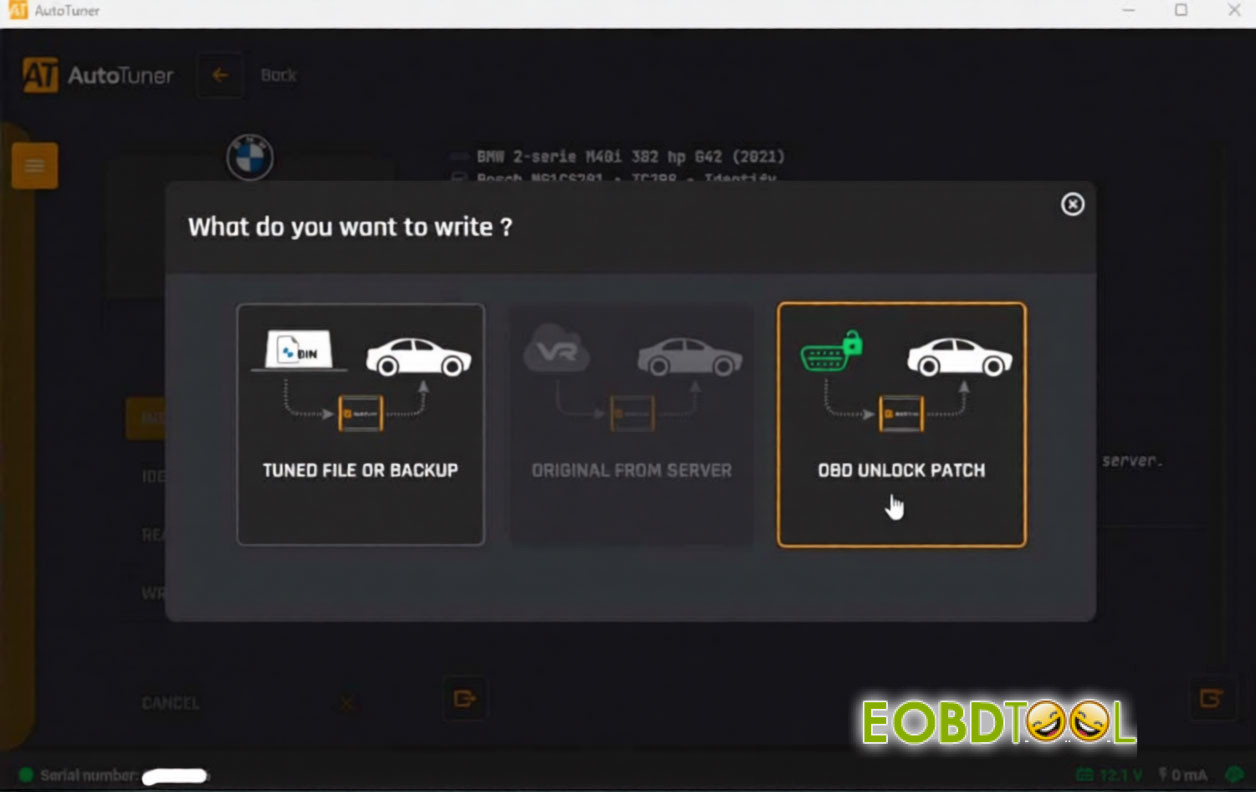
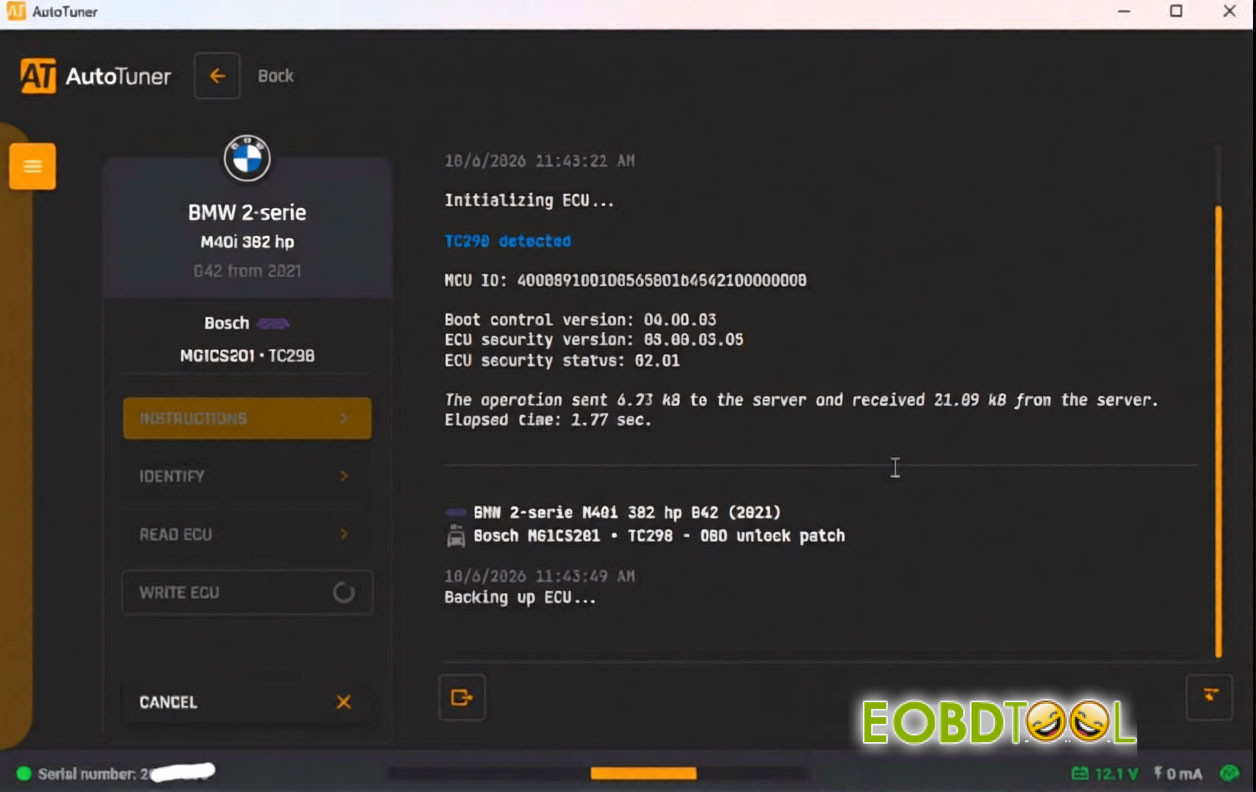
The Autotuner tool completes the entire unlocking procedure in just a few minutes. During the process, you’ll see the ECU sectors being written, and the tool will beep to let you know when everything is complete. Both the Master and Slave versions of Autotuner support this procedure.
UK Professional OBD2 Tools Online Shop